Mouse DPI Test and Analyzer
Estimate your mouse DPI with a physical ruler before changing gaming, design, or desktop sensitivity.
Set the distance, click and hold on the ruler track, then move your physical mouse the same distance in a straight horizontal line. The current test distance is 1 inch.
DPI: 0.00
Test Your Mouse DPI in Under 60 Seconds
Mouse software can show one DPI value while your real pointer movement feels different. This tester estimates browser cursor travel per physical inch. Keep pointer speed, acceleration, scaling and zoom fixed when comparing runs.
Short How-To Steps
- Choose inches or millimeters.
- Enter the exact distance you can measure on your desk.
- Click the ruler, hold, and move the mouse straight across that distance.
- Release and note the DPI value.
- Repeat three to five times and use the average.
Common Accuracy Mistakes
- Pointer acceleration is enabled.
- The mouse moves diagonally instead of horizontally.
- The entered distance does not match the physical movement.
- The surface causes sensor jitter or tracking loss.
Tip: Disable "Enhance pointer precision" in Windows first.
Result Interpretation
- 400-800 DPI: common starting range for low-sensitivity FPS players.
- 800-1600 DPI: practical range for many gaming and desktop setups.
- 1600+ DPI: faster cursor travel for large or high-resolution displays.
Use eDPI Calculator for game-specific sensitivity tuning.
What This DPI Test Measures
MouseDPITest divides horizontal browser cursor pixels by the physical inches you enter. It does not read raw sensor counts. Pointer speed, acceleration, scaling and zoom can affect the estimate. Reversed or interrupted drags are rejected; missed ruler marks and mouse lifts still require you to discard the run.
Best for
Comparing browser pointer travel before and after a settings change while keeping the physical distance and other conditions fixed.
Not for
Lab-grade sensor certification. Browser tests can be affected by acceleration, display scaling, surface tracking, and hand movement.
Best signal
Several close readings from the same measured distance. One outlier usually means the motion or entered distance was off.
What Is a Mouse DPI Analyzer?
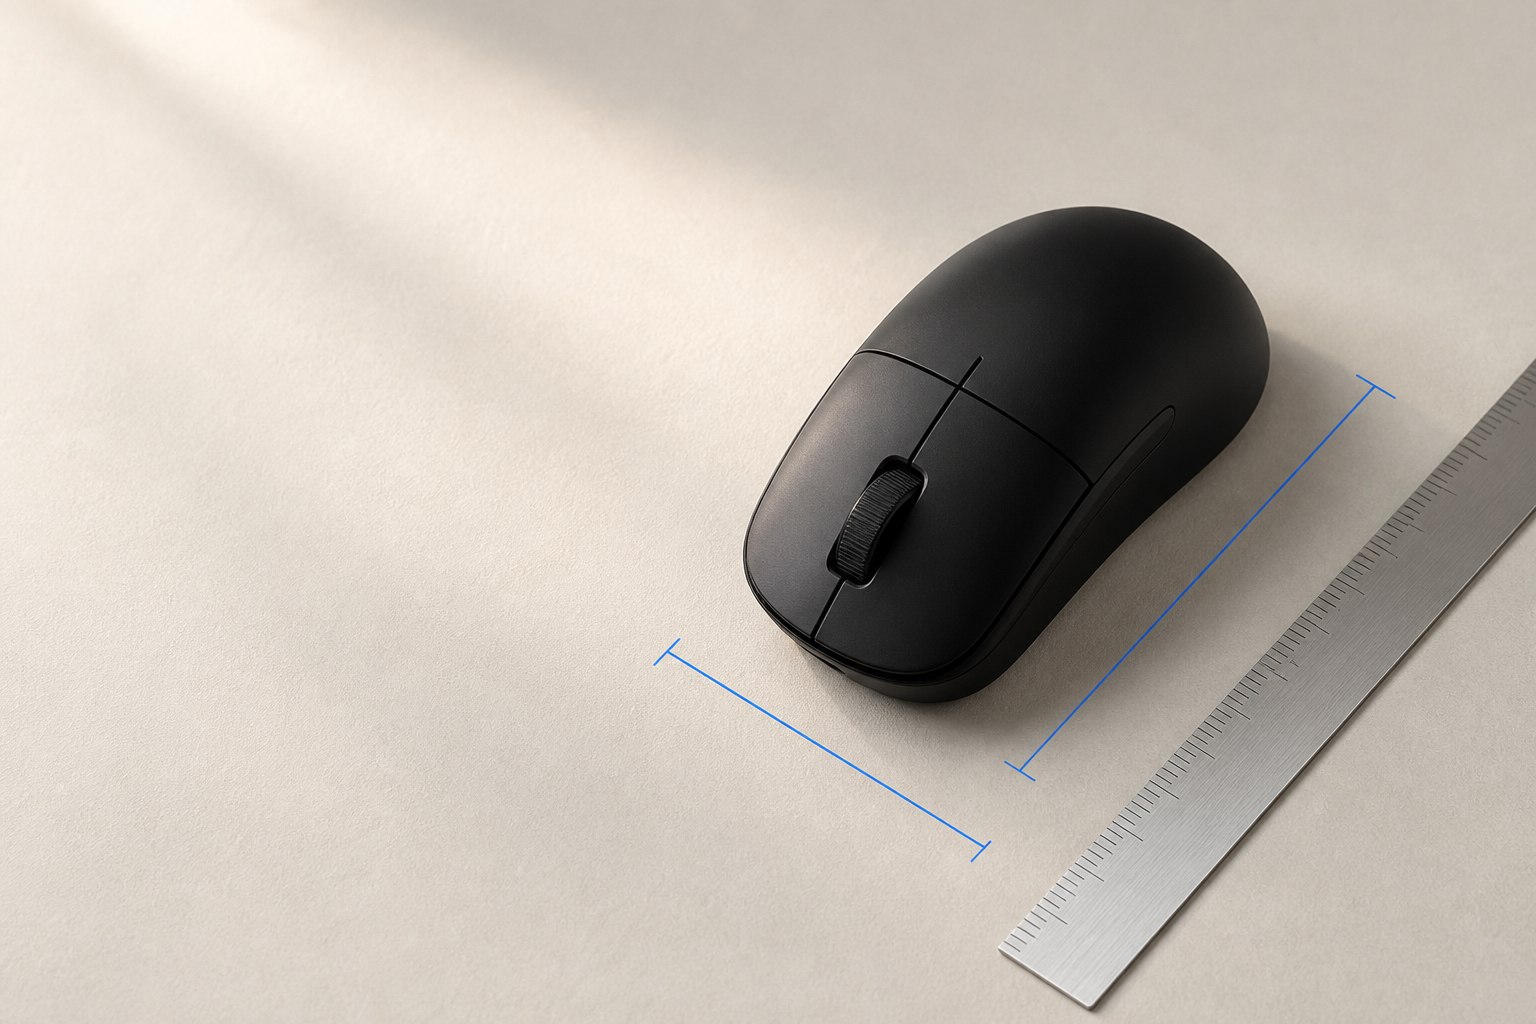
A mouse DPI analyzer estimates how many cursor counts your mouse reports for each inch of physical movement. DPI stands for dots per inch, but in everyday mouse setup it means the same practical thing most people care about: how far the pointer moves when you move the mouse.
The value matters because it becomes the base for every sensitivity setting after it. Use the configured hardware DPI for eDPI and game conversion. A browser estimate can differ because of pointer settings and scaling, so a mismatch alone does not establish that your hardware DPI is wrong.
Best use: test after changing mouse software, switching DPI stages, buying a new mouse, changing Windows pointer settings, or moving between gaming and productivity profiles.
Accuracy Checklist Before You Trust the Result
If the result is far from your expected DPI, check the setup before changing your mouse or game settings.
- Pointer speed: use the same OS pointer settings you normally play or work with, and disable acceleration when you want a clean baseline.
- DPI stages: keep one active stage while testing so a hardware DPI button cannot switch values mid-session.
- Measured distance: mark the start and end points on the mousepad or use a ruler beside the pad.
- Surface: test on the same mousepad you normally use, not glass or a glossy desk.
- Repeatability: run the test three to five times. Close results are more useful than one perfect-looking number.
How to Use the Mouse DPI Test
Enter the distance your mouse will physically travel, measured with a real ruler. The on-screen track is a drag area, not a calibrated ruler for your desk.
Step-by-Step DPI Testing Process
Choose Measurement Unit
Use whichever unit matches your physical ruler. Choose a short measurable distance that keeps the pointer inside the track, such as 0.2 inch if one inch is too far.
Enter Physical Distance
Enter the real distance you will move the mouse on the pad. If the page says one inch but your hand moves farther, the calculated DPI will be wrong.
Click and Drag on Ruler
Click and hold on the ruler, then move your physical mouse in one straight horizontal motion. Avoid lifting the mouse or changing speed sharply.
Read Your DPI Result
Release inside the track after reaching the physical mark. Repeat clean runs and compare the browser estimates; use the configured hardware DPI for game calculations.
Why DPI Testing Matters
DPI is the base number behind your desktop pointer speed and many gaming sensitivity setups. Use the configured hardware DPI to calculate eDPI within one game or convert sensitivity between supported games. A browser estimate helps compare desktop behavior under unchanged settings.
For gaming, a verified DPI baseline keeps aim consistent. For creative work, it helps you choose a speed that gives enough control for small edits without forcing excessive arm movement across large or high-resolution displays.
Common DPI Testing Mistakes to Avoid
- Pointer acceleration is enabled: acceleration changes pointer movement based on speed, so the same physical distance can produce different results.
- The movement is not straight: the tool measures horizontal cursor movement only; diagonal or curved motion does not match the entered straight physical distance.
- The distance is guessed: measure the movement with a ruler or marked pad edge instead of estimating by eye.
- The surface tracks poorly: glass, glossy desks, dust, or worn mousepads can make optical sensors skip or jitter.
- Only one run is used: repeat the test three to five times and watch for outliers before changing settings.
How Mouse DPI Actually Works
DPI describes pointer movement per inch of physical mouse travel. A mouse set near 800 DPI should report roughly 800 counts for one inch of movement before other software scaling is applied. The exact feel can still change when pointer speed, acceleration, game sensitivity, resolution, or raw-input behavior changes.
Modern mice usually let you save DPI stages in vendor software or onboard memory. If your mouse has a DPI button, disable extra stages while testing so you do not accidentally switch from one setting to another mid-session.
DPI vs CPI vs Sensitivity
DPI: the common user-facing term for mouse movement per inch.
CPI: counts per inch, the more technical sensor term. In mouse setup guides, people often use DPI and CPI for the same practical idea.
In-game sensitivity: the multiplier applied by a game after mouse input is received.
eDPI: DPI multiplied by in-game sensitivity. Use the eDPI Calculator when comparing gaming settings.
What DPI Should You Use?
Start with 400, 800, or 1600 DPI because those values are easy to configure and easy to compare. Lower DPI can make small aim corrections easier if you have enough mousepad space. Higher DPI can feel better for large monitors, strategy games, or productivity workflows. The best setting is the one you can repeat comfortably.
Testing Tips for Better Accuracy
- Clean the sensor area and test on your normal mousepad.
- Use the same DPI profile you use for gaming or work.
- Measure the movement distance with a ruler, not by memory.
- Move slowly enough to stay straight, but do not stop midway.
- Average several close readings and ignore obvious mistakes.
- Save your final DPI, in-game sensitivity, eDPI, and polling rate as a baseline.
Mouse DPI for Gaming Settings
Use these hardware DPI ranges as starting points, then adjust in-game sensitivity until movement feels repeatable. A browser estimate does not certify the hardware setting.
FPS Games
DPI: 400-800 | eDPI: game-specific
Lower sensitivity can make small crosshair corrections easier if you have enough mousepad space.
Battle Royale
DPI: 800-1600 | eDPI: game-specific
Moderate DPI can balance aim control with fast camera movement, looting, building, or scanning.
MOBA & RTS
DPI: 1600-3200 | High speed
Higher DPI can make map movement and large-screen navigation faster when pixel-perfect aim is less important.
Setup tip: After measuring DPI, use the eDPI Calculator for game sensitivity, the Sensitivity Converter when switching games, and the Polling Rate Test to verify report-rate stability.
Free Mouse & Keyboard Testing Tools
After you test DPI, use the rest of the toolkit to check click speed, polling rate, reaction time, typing speed, display density, and cross-game sensitivity. All tools are free and do not require sign-up.
Latest Guides & Articles
Practical guides for measuring DPI, choosing sensitivity, fixing acceleration, and setting up popular gaming mice.
Mouse DPI Calibration Guide
Repeat a measured ruler drag and understand the difference between a browser estimate and raw sensor DPI.
Pro SettingsPro Gaming DPI Settings Revealed
Learn how to use pro-style DPI ranges without copying settings blindly.
How-ToHow to Test Mouse DPI
Use a physical ruler, repeat clean browser runs, and interpret the estimate without confusing it with raw sensor counts.
Deep DiveMouse Acceleration: Complete Guide
Should you enable or disable mouse acceleration? Learn how it affects your DPI and aiming.
DesignDPI Settings for Creative Professionals
Optimal DPI settings for graphic designers, video editors, and digital artists.
GamingWhy Gamers Should Test Their DPI
Check saved profiles and separate browser pointer behavior from configured hardware DPI.