The short answer
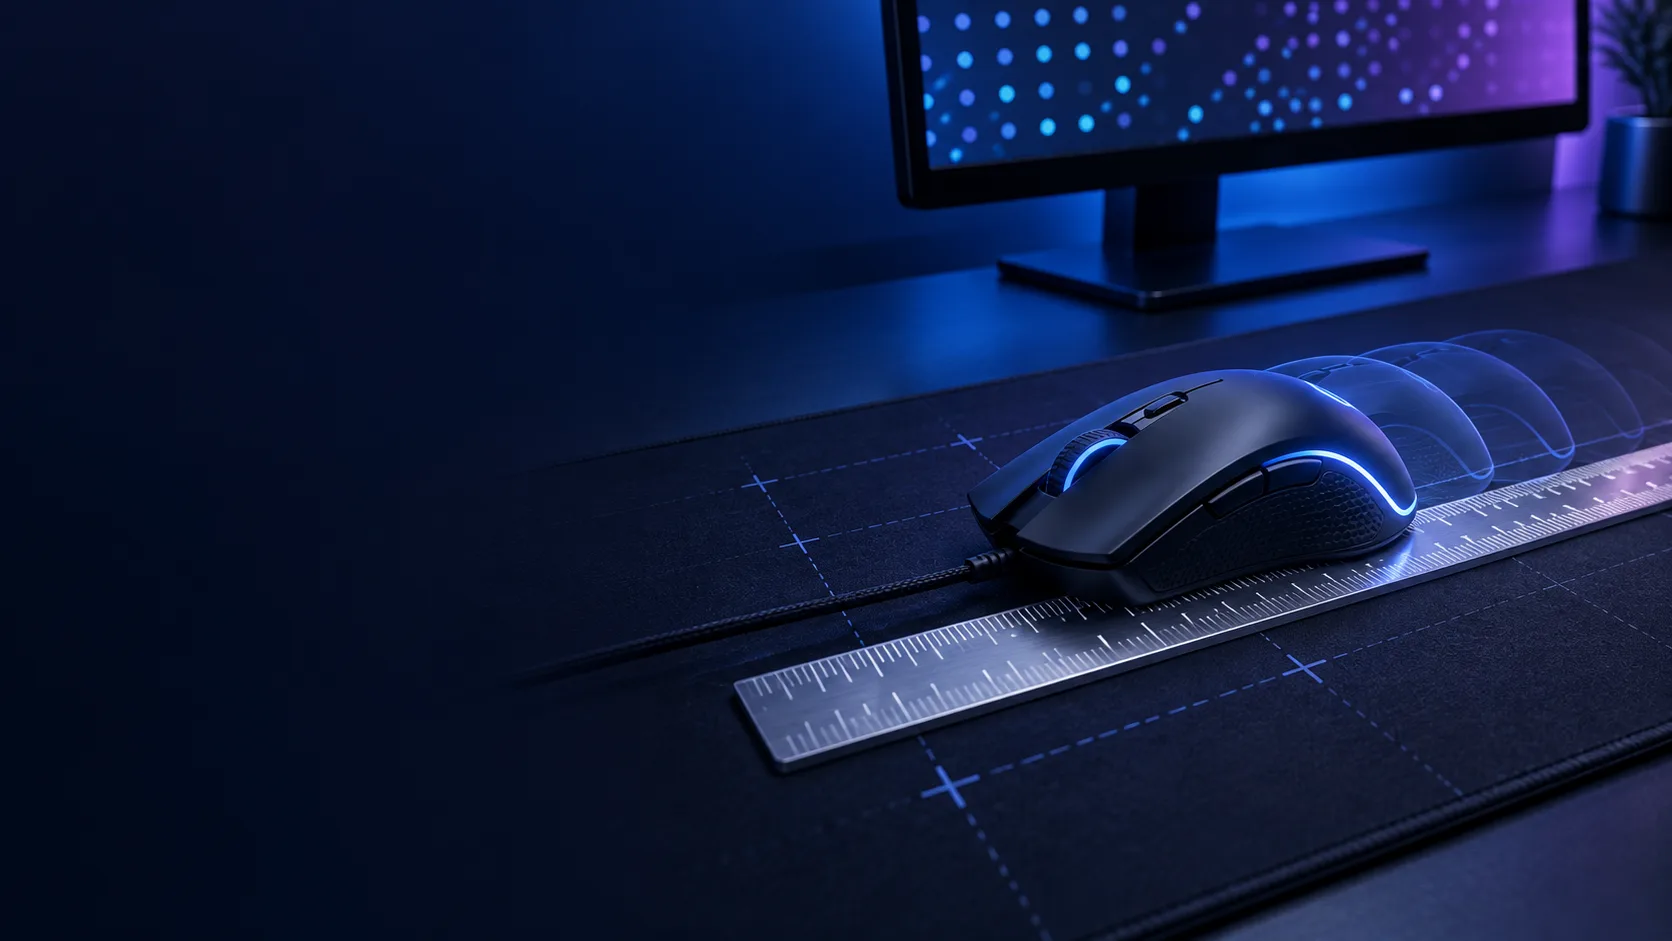
Mouse DPI calibration means measuring how many movement counts your mouse produces over a known physical distance, comparing that result with the DPI selected in the mouse software, and compensating for any repeatable difference. Use a ruler, choose a distance of at least 10 inches or 25.4 centimeters, make several straight passes, and average the results. A single hurried swipe is not a calibration.
The practical goal is consistency, not forcing the sensor to display a perfect marketing number. If a mouse set to 800 DPI repeatedly measures near 824, the useful finding is that its actual output is about 3% high. You can then select a nearby hardware step, or adjust in-game sensitivity while documenting the measured value.
What you are actually calibrating
Mouse makers commonly label sensor resolution as DPI, although counts per inch, or CPI, describes the input more precisely. The sensor reports movement counts; software turns those counts into cursor travel or camera rotation. Calibration compares the nominal setting—the number chosen in device software—with the effective count rate observed over a measured distance.
Keep that measurement separate from Windows pointer speed, macOS tracking speed, game sensitivity, display resolution, and zoom. Those layers can change what you see without changing the mouse's stored DPI step. For a physical DPI measurement, you want a test that accepts a known travel distance and counts the movement. Our mouse DPI test is designed around that method.
The ruler matters because an inch has an exact physical definition. NIST states that one international inch equals exactly 25.4 millimeters. That gives you a reliable conversion whether your ruler is marked in inches or centimeters.
Prepare a controlled measurement
Use the same mouse, surface, connection mode, and DPI profile you plan to use afterward. Disable any button that changes DPI mid-run, and confirm the active profile in the manufacturer's software. A cloth pad can compress or shift under a ruler, so tape the ruler beside the travel line rather than placing it on the movement path.
Clean the sensor opening and remove loose fibers from the pad. You do not need laboratory equipment, but you do need clear start and end marks. A longer path reduces the percentage impact of a one-millimeter placement error. Ten inches is workable; 12 to 20 inches is better if the pad has room.
Set browser zoom to 100% and keep the test fully visible. Close overlays that may capture the pointer. If the tool asks for a target distance, enter the distance you can physically travel, not the width of the screen. Screen size is irrelevant to the ruler measurement.
Run the DPI calibration test
- Select one hardware DPI step, such as 800, and write it down.
- Place the mouse at the start mark with a repeatable reference point. The front edge or a small removable tape mark is easier to align than the sensor opening underneath.
- Start the measurement in the tool without shifting the mouse from the mark.
- Move in one steady, horizontal line to the end mark. Avoid correcting the path halfway through.
- Stop at the mark and record the measured DPI.
- Repeat at least five times, alternating direction only if you can align both endpoints equally well.
Do not chase the pointer with tiny corrections at the end. An overshoot followed by a correction adds counts even if the mouse finishes on the right mark. Reject that trial and repeat it. Slow-to-moderate travel is easier to stop cleanly and is sufficient for basic calibration.
Calculate DPI deviation
Average the valid readings first. Add them and divide by the number of trials. Then compare the average measured value with the selected value.
Suppose five runs at a selected 800 DPI produce 820, 826, 822, 824, and 828. Their average is 824. The deviation is `(824 − 800) ÷ 800 × 100`, or +3%. Positive means the effective DPI is higher than selected; negative means it is lower.
Spread matters as much as the average. Results clustered within a small band point to a repeatable offset. Results scattered from 740 to 870 usually point to inconsistent endpoints, an unstable surface, acceleration in the measurement path, browser event limitations, or a connection problem. Fix the method before calculating a correction.
Choose the right correction
Many mice offer fixed DPI increments rather than true calibration. In that case, you have three sensible options. First, leave the hardware setting alone and use the measured number in your records. This is best when your aim already feels right. Second, select a nearby DPI step if the software provides fine increments. Third, compensate in the application sensitivity.
For an in-game correction, preserve the same product of actual DPI and sensitivity. If you planned around 800 DPI at sensitivity 1.00 but measured 824, use `800 ÷ 824 × 1.00`, which is about 0.971. The resulting effective sensitivity is close to the original target. Our eDPI calculator can check the multiplication.
Do not change two layers at once. Changing hardware DPI, operating-system speed, and game sensitivity together makes it impossible to identify which adjustment produced the result. Make one change, repeat the measurement, and label the profile.
Verify across DPI steps and movement speeds
A useful calibration checks more than one stored step. Test a low, middle, and high value that you actually use—for example 400, 800, and 1600. Calculate the percentage deviation for each rather than comparing the raw difference. An extra 24 counts is 6% at 400 but only 1.5% at 1600.
Next, repeat the chosen setting with a slow pass and a comfortably fast pass. The measured distance should remain broadly consistent. This is not a full sensor laboratory test, but a large speed-dependent change is a reason to check the surface, connection, software profile, and sensor condition. For a deeper protocol, use the mouse sensor accuracy guide.
Test wired and wireless modes separately if you switch between them. DPI should not intentionally change merely because the transport changes, but separate results can expose an unintended profile switch. Likewise, onboard-memory mode may hold different settings from the desktop software profile.
Common calibration errors
The most frequent error is measuring too short a path. At two inches, a small endpoint mistake becomes a large percentage of the run. Another is aligning the sensor opening at the start but the shell edge at the finish. Choose one external reference and use it at both ends.
Browser tests observe events delivered through the browser, not a private feed directly from the sensor. Browsers may combine pointer updates; the MDN documentation on coalesced events explains why one dispatched event can contain multiple movement updates. That is why repeatability and a long physical path are more useful than treating one displayed digit as absolute truth.
Other avoidable problems include mouse acceleration, a dirty lens, a glossy or patterned surface the sensor handles poorly, a loose ruler, wireless interference, and software switching profiles when a game launches. Calibration cannot repair unstable tracking. It can only quantify a stable relationship.
Record a calibration you can reproduce
Save the mouse model, firmware version, selected DPI, measured average, range of readings, pad, connection mode, date, and test distance. Also record whether the operating system or test used raw input. This short log lets you distinguish a genuine change months later from a different method.
Recheck after firmware updates, a mouse-pad change, a new computer, or an unexplained sensitivity shift. Routine weekly calibration is unnecessary when nothing changed. The purpose is to establish a dependable baseline and return to it when the setup changes.
When the numbers still do not agree
If results remain inconsistent, remove variables in a fixed order. Try a clean matte pad, connect the receiver directly or use the cable, close device software after saving the profile, and retest one DPI step. Then compare another browser or a native measurement utility. Consistent results that differ between tools may reflect different input paths rather than a changing sensor.
If every method shows the same stable percentage offset, use that measured value confidently. If the value drifts between passes, calibration is premature; follow the DPI troubleshooting checklist to isolate profile switching, acceleration, surface trouble, or connection loss first.
The finished calibration should answer three questions: What DPI is selected? What DPI is repeatedly measured? Which single correction preserves the sensitivity you want? Once those answers are written down, stop tuning and use the setup long enough to judge it in real work or play.
Estimate measurement uncertainty
Do not report more certainty than the procedure supports. If five valid readings span 814 to 834, an average of 824 is useful, but “824.000 DPI” is not. Endpoint placement, path angle, pad motion, and event delivery do not justify those decimal places. Record the average as approximate and keep the range beside it.
Improve confidence by increasing travel distance and trial count. Compare two sets of five rather than collecting dozens without fixing a poor method. If the set averages are close, the measurement is adequate for sensitivity adjustment. If they disagree, inspect endpoints and input settings before adding trials.
Percentage uncertainty also gives scale. A two-millimeter endpoint error over 254 millimeters matters more than the same error over 508 millimeters. Long, clean passes improve the decision more than extra displayed digits.
Transfer a calibrated baseline
Save the intended DPI to onboard memory when supported, then connect the mouse to the second computer without immediately installing several utilities. Confirm the stored step, measure it with the same ruler method, and compare averages. Configure operating-system and application layers separately.
Do not expect identical desktop cursor travel across different display layouts merely because DPI matches. DPI describes physical mouse counts; desktop scaling and pointer settings describe how a system uses them. For games, preserve DPI and in-game sensitivity, then verify physical turn distance.
If the second computer measures the same DPI but feels different, calibration has narrowed the cause. Check acceleration, pointer speed, raw-input state, field of view, frame delivery, and the application profile instead of altering the mouse to hide the mismatch.
For shared or tournament computers, carry the written values and confirm them with a short physical test before play. Do not assume a profile import changed the operating system or game. A two-minute verification of active DPI, acceleration state, and turn distance is more reliable than making a last-minute sensitivity adjustment from feel. After the session, restore any host-computer settings you were authorized to change.
Calibration is also useful after replacing worn mouse feet. The skates should not alter the electronic count rate, but changed friction can alter your path and stopping accuracy. Keep the numerical baseline, allow time to adapt, and remeasure only if controlled ruler passes indicate a real difference. Do not compensate for unfamiliar glide by rewriting every stored sensitivity value on the first day.
Sources
- NIST, SI Units—Length — exact inch-to-millimeter relationship used for the physical measurement.
- MDN, PointerEvent.getCoalescedEvents() — how browsers can combine pointer updates.