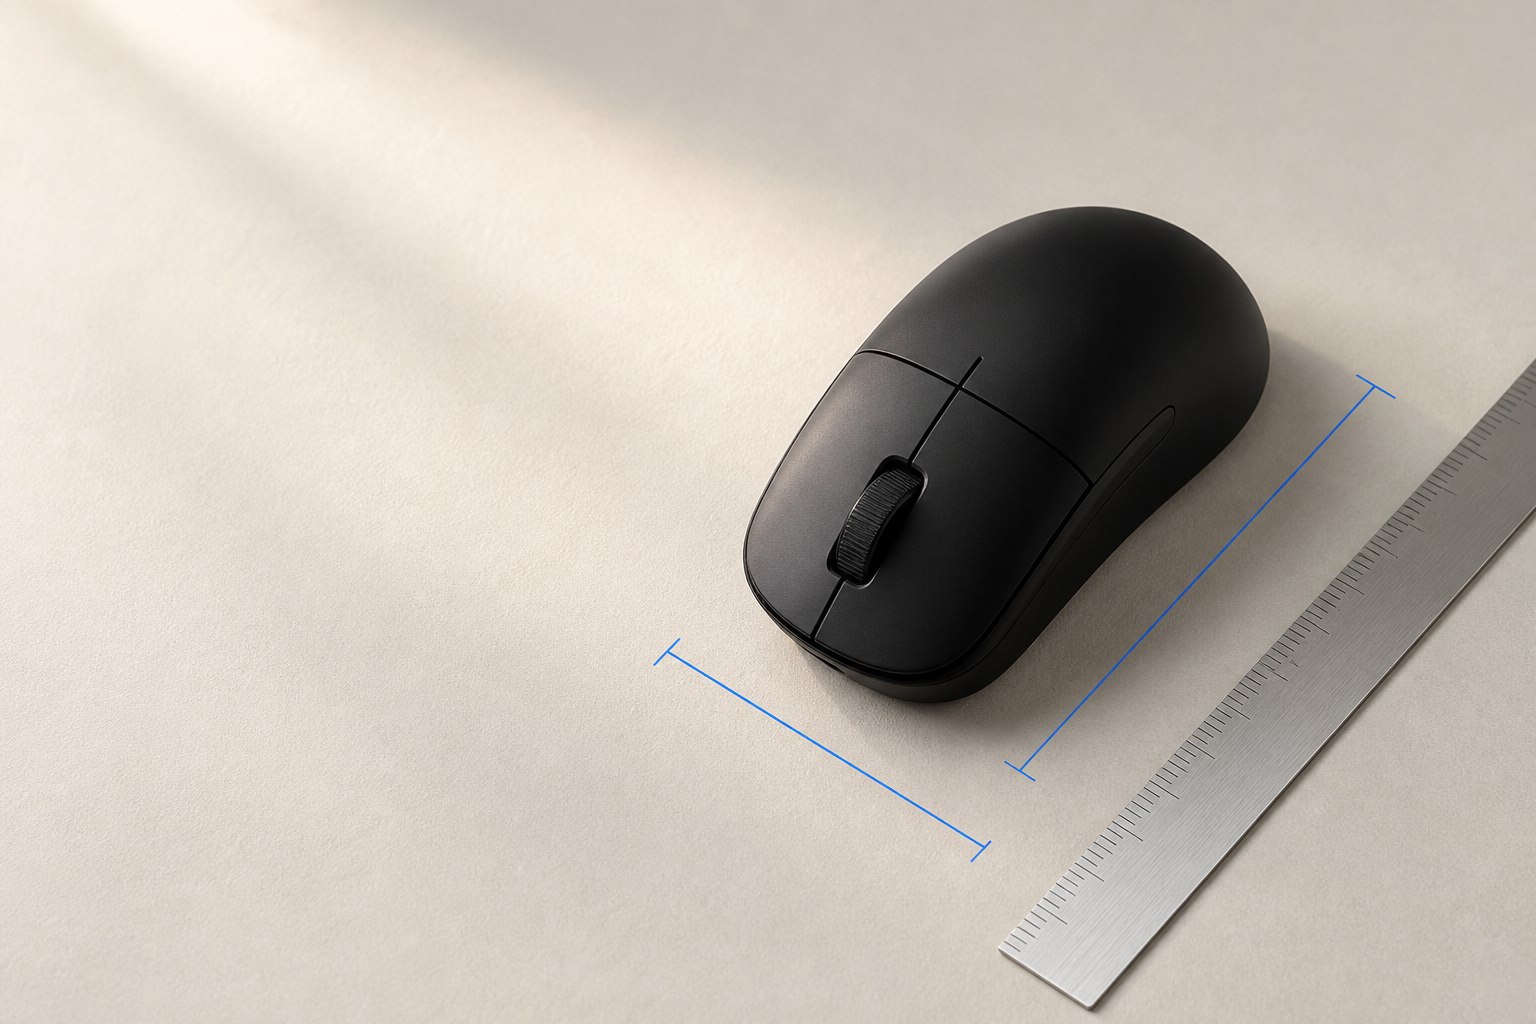
Choose a mouse DPI that lets you reach your tools without repeated lifts and place small controls without repeated corrections. There is no single best setting for Photoshop, video editing or 3D work. Compare two profiles on the same real tasks, with pointer speed and application zoom held fixed.
This guide gives you a repeatable setup process and application exercises. It is an editorial method, not a hardware review or a claim that particular DPI ranges are used by professional artists.
Separate mouse DPI from canvas and display settings
Mouse DPI describes movement sensitivity at the device level. Operating-system pointer settings determine how movement becomes cursor travel. Application zoom changes how large your work appears. Image resolution used for printing is a separate setting: changing your mouse DPI does not add detail to an image or alter its print resolution.
Record each setting before comparing profiles. Microsoft documents Windows pointer speed and Enhance pointer precision; Apple documents Mac tracking speed. Keep the relevant controls unchanged during the first comparison.
| What happens | First comparison to make |
|---|---|
| You overshoot small controls everywhere | Try a nearby lower mouse DPI or pointer-speed setting, one at a time. |
| You repeatedly lift to reach another panel | Try a nearby higher setting, then check that fine placement remains manageable. |
| Only a tiny canvas detail is difficult | Increase application zoom or use a precise placement tool before changing global sensitivity. |
| The cursor skips or stops on one surface | Compare another supported surface; sensitivity alone cannot establish a tracking fault. |
Build a useful baseline
- Save the current profile. Note the device model, connection mode, selected DPI stage, pointer speed and acceleration state. A screenshot of your own settings is enough if the software cannot export them.
- Keep the workspace stable. Use the same display arrangement, scaling, application version, document, zoom and mouse surface. Avoid comparing a full-screen timeline with a narrow window.
- Choose three representative tasks. Include a small target, a long movement and one task that mixes both. Use a duplicate document or disposable project so the exercise cannot damage client work.
- Repeat each task. Record missed selections, visible overshoots, corrective movements and mouse lifts. If you time the task, use the same start and finish conditions.
- Change one setting. Test one nearby supported DPI stage. Recheck the baseline afterward to see whether familiarity with the task explains the improvement.
For example, if 1600 DPI feels too fast, compare it with 1200 DPI while leaving pointer speed unchanged. These are illustrative trial values, not recommended industry settings. If both feel poor, first check the surface, workspace layout and application controls rather than adding more profiles.
Try an exercise that matches your work
Photoshop, illustration and photo retouching
Open a copy of a familiar image. At a fixed zoom, select the same small layer handle, make a short selection and move between the canvas and a tool panel. Undo between attempts. Note whether difficulty occurs during the selection, the drag or the trip back to the panel; each points to a different part of the workflow.
Then repeat the detail task with more canvas magnification. Photoshop's Zoom tool and view commands let you change magnification without changing mouse sensitivity. For exact placement, Adobe documents constrained movement and keyboard nudging. A mouse profile should make ordinary pointing comfortable; it does not need to replace a numeric field, snapping or a stylus that suits the task.
Video timelines and animation curves
In a duplicate sequence, put a marker near an edit. Try selecting the edit point, moving the playhead to the marker and adjusting a control in another panel. Keep the timeline zoom fixed for the profile comparison. Count accidental selections and corrections rather than judging only how quickly the cursor crosses the screen.
For a frame-specific change, use the editor's trim controls or keyboard commands and confirm the resulting timecode. Premiere's Trim mode provides frame-by-frame adjustment. Increasing timeline zoom may solve a small-target problem without making every other panel slower to reach. Check the equivalent controls in your editor rather than assuming one application's shortcuts apply to another.
3D modeling, CAD and vector layouts
Use a test scene or duplicate drawing. Compare selecting a small point, dragging a handle and navigating the viewport. Keep navigation preferences fixed. If the goal is an exact distance or angle, enter that value or use the application's constraints; a lower mouse DPI is not a measurement system.
For example, Blender documents Shift for finer transform control and Ctrl for snapping, with behavior depending on the active operation and snap mode. Test the application's own precision control before adding a special mouse stage for every task.
Use profiles only when they solve a repeated problem
One stable setting is a useful starting point. A second, slower stage can help if you repeatedly need finer pointer control and can switch deliberately. Check your exact device software for supported button assignments and application profiles. Support varies; do not assume Photoshop changes hardware DPI whenever you pick a brush.
If you create two stages, give them clear names, remove unused stages where supported and test the switching button in a disposable document. It must not also trigger an unwanted application command. Return to the normal stage before assessing a different task. If accidental switching causes more corrections than it saves, keep one stage.
Handle multiple displays and remote sessions separately
First compare pointing on one display. Then check panel-to-panel travel across your normal arrangement. Record resolution and display scaling for each screen. A saved hardware DPI does not guarantee the same cursor feel on another computer, because system and application settings still matter.
If the problem appears only when crossing screens, check display arrangement and scaling before changing every application profile. If it appears only through remote desktop, repeat locally. The remote session introduces another input path, so its result should have its own settings record. During screen sharing, a deliberate pointer and visible selection often matter more than faster pointer travel.
Keep a short decision record
Use a note with these fields: profile name; DPI; pointer settings; display layout; application and zoom; task; corrections; lifts; comfort; decision. Fill in your own observations. No task times or improvements are claimed here.
Keep the alternative only if it addresses the repeated problem without creating another one. If the difference is unclear, retain the familiar profile and compare again during ordinary work. Comfort is a useful observation, but a DPI change is not a demonstrated treatment or way to prevent injury.
Where the browser estimate fits
The DPI analyzer compares horizontal cursor travel with a short physical ruler distance. Keep settings fixed and complete several clean runs. Its cursor-pixels-per-inch estimate can help you notice a change, but it cannot certify hardware DPI, sensor accuracy or the best creative profile.
For a configured setting, use supported mouse software. For a workflow decision, use the repeated tasks above. If movement changes with swipe speed, follow the controlled acceleration check before interpreting a single DPI result.