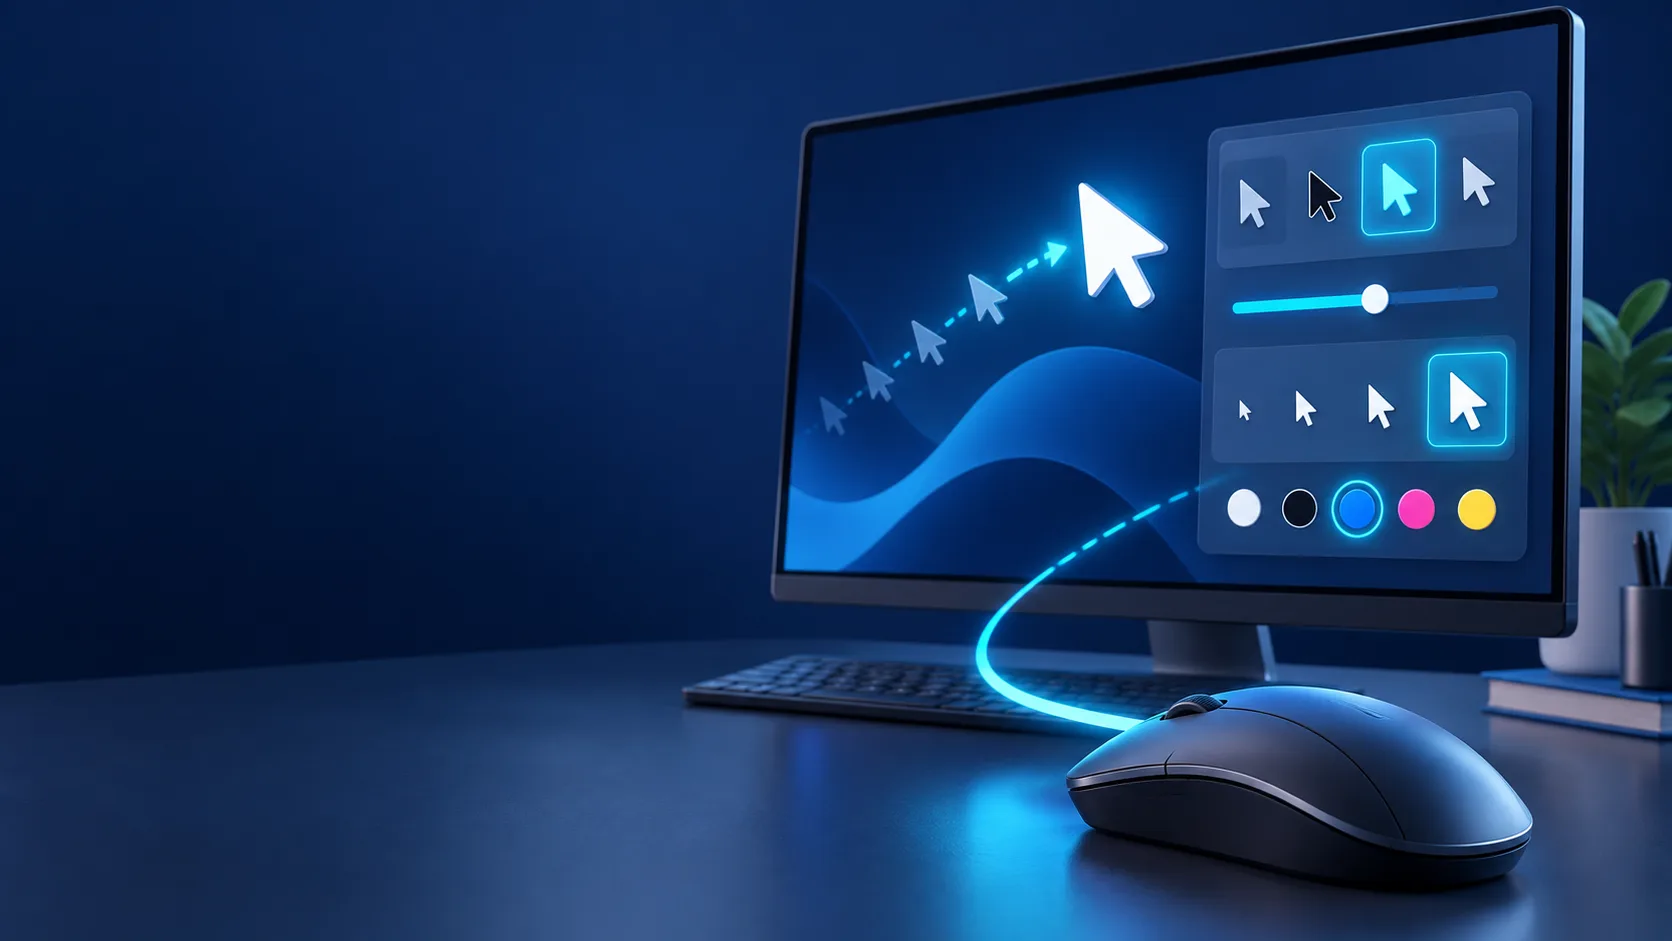
Start with the correct settings layer
Windows mouse control has several layers: hardware DPI in the mouse, Windows pointer speed, Enhance pointer precision, application sensitivity, and application input mode. They are related but not interchangeable. A clean setup changes one layer at a time and records the baseline before tuning.
For general desktop use, choose a hardware DPI and Windows speed that let you reach the screen comfortably while still selecting small targets. For games that support raw input, keep the desktop comfortable and tune the camera inside the game. Raw-input applications can use movement deltas without relying on the normal desktop cursor path.
Where to find mouse settings in Windows 11
Open Start, choose Settings, then Bluetooth & devices, then Mouse. The page includes primary-button selection, mouse pointer speed, wheel behavior, and inactive-window scrolling. Microsoft’s current Change mouse settings guide documents that path and the related options.
Additional mouse settings opens the classic Mouse Properties dialog. Its Pointer Options tab contains motion and visibility controls, including Enhance pointer precision, Snap To, pointer trails, hiding the pointer while typing, and showing its location when you press Ctrl. Windows builds may surface some controls on newer Settings pages as well, but the names describe the same categories.
Before changing anything, capture the current slider position and checkbox states. A screenshot or short note prevents a tuning experiment from becoming an irreversible mystery.
Mouse pointer speed versus hardware DPI
Hardware DPI controls the counts produced per inch of physical travel. Windows pointer speed scales how the desktop cursor uses mouse input. If the pointer crosses the desktop too quickly, either layer can reduce the travel; if it feels slow, either can increase it. That does not make the controls equivalent.
Changing DPI also affects applications that consume mouse counts directly, including many games. Changing Windows desktop speed may not affect an application that requests raw or unadjusted input. This is why a game can feel unchanged after you move the Windows slider while the desktop cursor changes dramatically.
Pick hardware DPI first, preferably a stable stored step you can verify. Then set Windows speed for desktop comfort. Finally, set each game's sensitivity. This order makes the setup portable and easier to diagnose.
What Enhance pointer precision does
Enhance pointer precision changes the relationship between physical movement and cursor movement according to movement behavior. Microsoft describes the option as making the pointer more accurate when the mouse moves slowly. In practice, it means the same physical distance can produce different cursor travel depending on how the movement is made.
That behavior can be helpful on a desktop where you want slow control near a small target and fast travel across multiple displays. It can be undesirable when you need a fixed relationship between physical distance and movement, such as measuring DPI or building a repeatable FPS turn distance.
There is no universal requirement to disable it for every user. Decide by task. Leave it on if it improves desktop control and your applications behave as expected. Turn it off when you need predictable cursor scaling, and verify the result rather than relying on the checkbox name.
Configure a repeatable Windows baseline
- Select the intended DPI in official mouse software and remove unused DPI stages if the software allows it.
- In Windows Mouse settings, place the pointer-speed control at a documented position.
- Open Additional mouse settings and decide whether Enhance pointer precision belongs in this baseline.
- Disable pointer trails while measuring movement; trails change visibility, not DPI, but can make endpoints harder to judge.
- Test normal desktop targets, text selection, drag operations, and movement across every display.
- Record the final DPI, Windows speed, precision state, and date.
The famous “middle notch” advice comes from older control-panel discussions and is often repeated without context. Current Windows interfaces and application input paths vary. A better rule is to document a repeatable position, avoid acceleration for fixed-distance testing, and verify the application that matters.
Raw input and games
First-person games often use relative movement deltas rather than moving an absolute desktop cursor. The Pointer Lock API explanation offers a web example: pointer lock supplies movement deltas, removes screen-edge limits, and can request unadjusted movement for raw control.
A game's “raw input” option is game-specific; consult its current documentation or test behavior after updates. When raw input is active and implemented as expected, Windows pointer speed or desktop acceleration may not control camera rotation. Menus may still use a regular cursor, so the game can appear to have two behaviors.
Set game sensitivity inside the game, then record eDPI or centimeters per 360 degrees. The eDPI guide explains same-game comparisons, and the FPS setup guide provides a practical tuning sequence.
Wheel, primary button, and inactive scrolling
The Windows Mouse page also controls which button is primary, how many lines the wheel scrolls, and whether hovering can scroll an inactive window. These options do not change sensor DPI, but they affect daily comfort and may be mistaken for mouse hardware behavior.
Set wheel movement using documents or pages you actually use. “Multiple lines at a time” offers granular control; “one screen at a time” makes each notch much larger. If a wheel jumps in both directions or skips unpredictably, confirm the behavior in the mouse scroll test before blaming the Windows line count.
Inactive-window scrolling is useful for working across panels, but it can move content under the pointer even when that window is not focused. Turn it off if accidental background scrolling causes errors. Primary-button selection is an accessibility and handedness choice, not a performance setting.
Pointer visibility and accessibility
Windows can change pointer size, color, trails, and the Ctrl-key locator. Microsoft’s input accessibility guide documents the pointer-size and style controls under Accessibility.
A larger or high-contrast pointer can improve acquisition without changing physical sensitivity. That distinction matters: if you can find the pointer but overshoot targets, adjust speed; if control is good but the pointer disappears against content, adjust visibility.
Snap To automatically moves the pointer toward a default dialog button in supported apps. That can be convenient but makes the cursor move without corresponding mouse travel, so disable it during calibration or movement tests. Hide pointer while typing and the Ctrl locator do not alter sensor output.
Multi-monitor considerations
Different display resolutions, scaling values, and physical sizes can make one desktop span feel uneven. Windows cursor coordinates and display scaling affect how far the pointer appears to travel, while hardware DPI remains a physical input setting. Do not recalibrate mouse DPI merely because a pointer looks faster on a different-density display.
Arrange displays in Settings so their virtual positions match the desk. Test crossing boundaries at several heights. If the pointer catches at an edge, the issue may be the virtual alignment rather than sensitivity. Choose a speed that works on the most demanding display, then use accessibility visibility settings before making the cursor excessively fast.
Remote desktops and virtual machines add another input layer. Test locally before diagnosing a mouse through a remote session, where scaling, latency, and cursor synchronization can alter the feel.
Test whether acceleration is active
Open the mouse speed and acceleration test. Mark two points on the pad and make one slow pass between them, then one faster pass over the same physical distance. With a fixed relationship, the reported or cursor distance should remain similar. A repeatable difference suggests acceleration somewhere in the path.
This comparison is more informative than moving randomly and deciding the cursor “feels floaty.” Repeat both speeds several times. If the result changes only in one game, investigate that game's input settings; if it changes on the desktop and browser, investigate Windows and device software.
Browser tests have limitations. Pointer events can be combined before a page receives them, as described in MDN’s coalesced-events documentation. Use the test to compare controlled states, not to certify a driver implementation.
Troubleshoot unexpected Windows mouse behavior
If sensitivity suddenly changes, verify the active hardware DPI profile first. Then check Windows speed and Enhance pointer precision. Look for per-application profiles in mouse software and game-specific sensitivity or raw-input changes. Restart after driver or firmware updates before judging the result.
If movement stutters, try a clean surface, direct USB connection, charged battery, closer receiver, and another port. If only clicking or scrolling fails, use the relevant site test rather than changing pointer speed. A sensor setting cannot repair a worn switch or encoder.
Avoid registry edits and third-party “optimization” packages until standard settings and hardware paths are ruled out. They make the system harder to reproduce and can persist after the original problem is gone. The complete DPI troubleshooting guide follows a lowest-risk order.
A practical final configuration
The best Windows mouse configuration is one you can state clearly: mouse model and DPI, Windows pointer-speed position, Enhance pointer precision on or off, connection mode, and per-game sensitivity. It should pass the same-distance slow/fast check when predictability is required and remain comfortable for desktop tasks.
Once that baseline works, stop moving sliders. Consistency gives your hand time to adapt and makes future faults obvious. Save the note somewhere outside the mouse software so a profile reset or reinstall does not erase the reference.
Back up and migrate the configuration
Export the mouse profile through official software if that feature exists, but also keep a plain-text record. Profile files can be version-specific or omit Windows settings. Your note should include every DPI stage, the active stage, polling rate, button assignments, Windows pointer speed, Enhance pointer precision, wheel lines, and application overrides.
On a new Windows computer, configure the mouse profile first, then Windows, then each application. Test after every layer. Do not import an old profile and simultaneously copy registry settings from another machine; if behavior differs, you will not know which transfer caused it.
Display resolution and scaling do not redefine the mouse's physical DPI. Rebuild the display arrangement, then judge desktop comfort. For games, restore hardware DPI and in-game values and verify centimeters per 360 rather than matching how far the menu cursor crosses a screen.
Distinguish pointer faults from click faults
Pointer settings affect movement. They do not repair double-clicking, missed buttons, scroll reversals, or drag release. Use the double-click test, scroll test, or drag test for those symptoms.
This separation saves time during support work. If movement is stable while a held drag drops, changing DPI adds confusion and leaves the switch problem untouched. Record each symptom against the control that can actually influence it.
Finally, check Windows only after the intended user account is active. Pointer and accessibility preferences can be per-user, while device firmware is shared by the mouse. A setup that changes after switching accounts may therefore be behaving exactly as configured, not losing its DPI.
Sources
- Microsoft Support, Change mouse settings — current Windows mouse controls and Enhance pointer precision.
- Microsoft Support, input accessibility — pointer size, style, trails, and related controls.
- MDN, Pointer Lock API — relative movement and unadjusted input concepts.
- MDN, coalesced pointer events — browser measurement limitations.