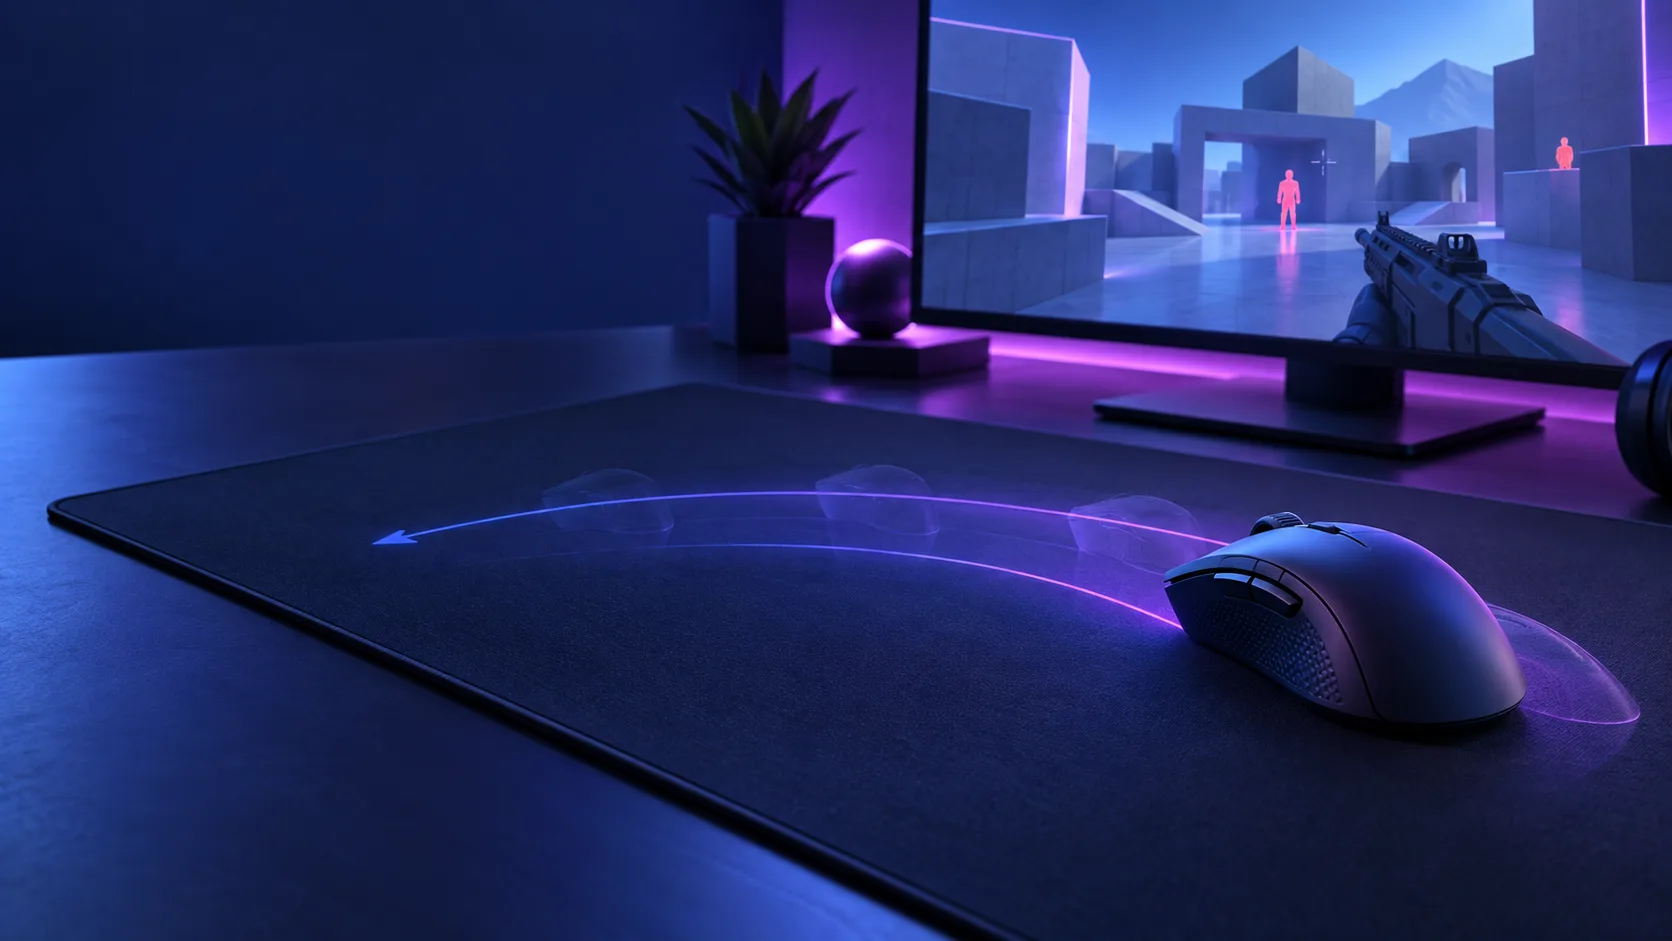
A reliable FPS sensitivity starts with constraints
The best FPS sensitivity is not a universal number. It is a setting that fits your available pad space, permits routine turns without constant lifting, gives you control over small corrections, and remains stable across sessions. Set a baseline, test deliberate percentage changes, and keep the rest of the input path fixed.
Start with four known values: active mouse DPI, in-game base sensitivity, any aim-down-sights multiplier, and the physical distance required for a 360-degree turn. Record them before testing. That note gives you a way back if an experiment feels worse.
Clean up the input path first
Choose one stored DPI step and remove unused stages from easy-to-hit buttons. Verify actual output with the DPI calibration method if the number matters for transfers. Select a stable polling rate that your computer handles well, using the polling-rate protocol if necessary.
Decide how the game handles raw input or mouse acceleration. Do not change those options during a sensitivity comparison. First-person applications generally use relative movement deltas; the Pointer Lock API documentation illustrates why relative input can continue without desktop screen boundaries and why unadjusted movement matters for a fixed distance relationship.
Close mouse utilities that switch profiles unexpectedly. Confirm the profile after the game launches, not only on the desktop. Keep field of view, aspect ratio, resolution, posture, mouse pad, grip, and frame-rate limit constant during the test.
Measure centimeters per 360 degrees
Enter a private practice area with a clear reference point. Place the mouse at a marked pad position, aim at the reference, then move horizontally until the camera completes exactly one full turn. Measure the mouse travel. Repeat several times and average valid attempts.
Measure in centimeters because it describes a physical result that remains intelligible when DPI changes. NIST defines one inch as exactly 25.4 millimeters, so inches can be converted by multiplying by 2.54. Do not confuse cm/360 with eDPI: eDPI is convenient within one game, while cm/360 expresses the resulting turn distance.
Reject a pass if you lift the mouse, hit the pad edge, or lose the starting reference. For very low sensitivity, measure a 180-degree turn and double the distance if a full turn exceeds the usable pad width.
Check your usable pad space
Measure the clear horizontal width after allowing for the keyboard, cable, receiver, and the part of the pad your arm cannot comfortably reach. Your sensitivity should support the largest routine turn for your role without forcing awkward movement. It does not need to complete every possible spin in one swipe.
Test a controlled 180-degree turn from a neutral posture in both directions. If you repeatedly hit an edge during ordinary play, a modest sensitivity increase may be more practical than copying a very low value. If the turn fits easily but fine corrections are unstable, a modest decrease may help.
Do not solve limited space only by changing technique during the test. Keep the same arm and wrist involvement for each candidate. Otherwise, you compare movements rather than settings.
Establish eDPI within the game
Multiply mouse DPI by base in-game sensitivity. This eDPI value makes equivalent pairs easy to save and compare inside the same title. An 800 DPI setting at 0.4 and a 1600 DPI setting at 0.2 both produce 320 eDPI.
Different games use different sensitivity scales, so do not copy the eDPI number directly between them. Use the sensitivity converter for supported titles or match physical turn distance manually. The detailed eDPI guide explains the boundary.
If your current setting is playable, treat it as the center of the experiment. There is no need to begin from a professional player's setting. Familiar control is useful evidence.
Create three candidate settings
Keep the baseline, then create one candidate about 10% lower and one about 10% higher. For a 400 eDPI baseline, that produces 360, 400, and 440. Hold DPI constant and change only game sensitivity.
Test the candidates in a mixed order so the newest setting does not always benefit from extra warm-up. Use each for long enough to settle—several drill runs and actual rounds—not a single flick. If the difference is too obvious or uncomfortable, narrow the range to 5% around the better candidate.
Avoid endless one-percent changes. Small differences can be drowned out by normal variation in attention, fatigue, and task sequence. First identify a useful region, then refine only if the result is repeatable.
Use separate tracking and target-switching tests
For tracking, follow a moving target while minimizing corrective oscillation. Look for steady contact and the ability to reverse direction without lagging or overshooting. For target switching, move between fixed targets at different distances and evaluate both speed and the size of the correction after the initial movement.
Use the same drill duration and target pattern in the aim trainer for all candidates. Record median or typical performance, not only the personal best. A sensitivity that occasionally produces a spectacular score but frequently collapses may be less useful than a stable alternative.
The site drill is a controlled comparison, not a substitute for the game. Confirm recoil control, movement, camera behavior, and realistic engagement distances inside the FPS before choosing.
Evaluate overshoot and undershoot correctly
Frequent overshoot can indicate sensitivity is high, but it can also come from rushing, tension, poor stopping technique, or unfamiliar target pacing. Frequent undershoot can indicate low sensitivity, but it can also reflect hesitation. Use repeated patterns before assigning cause.
Video or a simple error log helps. Mark each miss as initial overshoot, initial undershoot, late correction, or loss during tracking. If one error type consistently grows at the higher candidate and shrinks at the lower one, the setting is probably contributing.
Do not tune around one weapon animation or visual effect. Use several engagement types and a stable frame rate so display performance does not masquerade as input trouble.
Set scoped and ADS sensitivity afterward
Finish base sensitivity first. Then test each commonly used zoom level. A scope multiplier changes only part of the input system, and games differ in how they present or calculate it. “1.0” does not guarantee identical visual or angular feel across titles or zoom levels.
Test a scoped tracking task and target switch at the actual field of view. Keep the base fixed. Adjust one scope multiplier at a time and record it beside the base setting. Rarely used zoom levels do not need hours of optimization; they need a usable, documented value.
If a game offers monitor-distance or coefficient options, consult its own current documentation. Do not assume a label in one title uses the same math in another.
Account for posture and fatigue
Sit at the height and distance used in play. Place the forearm consistently and keep the pad orientation fixed. A sensitivity that works only when your shoulder is already tense is not a good setup. Stop the test if discomfort develops; pain is not adaptation evidence.
Repeat the finalists on another day. Motor performance varies, and the setting that wins after twenty minutes of warm-up may not be the setting you control when starting cold. A dependable choice performs acceptably across both states.
Mouse mass, skates, and pad friction can change stopping behavior without changing sensitivity math. When hardware changes, keep the numerical baseline initially and allow an adaptation period before retuning.
Know when to stop adjusting
Choose the candidate that meets space constraints, produces repeatable small corrections, and performs well across tracking and target switching. Save the exact values and stop changing them for a defined block of play—at least several sessions.
Do not lower sensitivity after every overshoot or raise it after every slow turn. Treat match errors as data only when they form a pattern. Stable settings let technique improve and make genuine equipment changes easier to detect.
Revisit sensitivity after a material change: different game, mouse, pad area, posture, field of view, or role. A bad evening alone is not a material change.
Save a complete sensitivity record
Write the game and version date, mouse model, DPI, polling rate, base sensitivity, eDPI, cm/360, scoped multipliers, field of view, resolution/aspect ratio, raw-input state, and acceleration state. Add the pad's usable width.
This record turns reinstalling or moving computers into a setup task rather than a memory test. It also makes cross-game conversion safer: you can compare both the mathematical conversion and the physical result before training on it.
Test the setting in real match decisions
Aim drills isolate movement, but an FPS setting also has to work while you strafe, clear angles, manage recoil, and react to sound. Take the two best candidates into equivalent practice rounds. Use the same role, weapons, and warm-up. Record problems by type rather than using match outcome alone.
Note whether you fail to turn far enough during close encounters, over-correct at long range, lose smooth tracking while moving, or run out of pad during ordinary clearing. Those observations connect the setting to a physical demand. Wins, kills, and rank are heavily affected by opponents and decisions, so they are noisy sensitivity measures.
If one candidate wins drills but causes repeated pad-edge failures in matches, the constraint matters. If another feels quick but produces extra corrections on every long-range target, the control cost matters. Choose the compromise that supports the role's common actions.
Keep performance and latency out of the comparison
Stutter, low frame rate, display changes, and network delay can make aim feel heavy or inconsistent. Confirm stable frame pacing before adjusting sensitivity. Use the same graphics preset, display refresh mode, and frame cap for every candidate.
Polling rate can also affect system load. If a very high mouse rate coincides with frame drops, select a lower stable mode before evaluating aim. Sensitivity tuning cannot compensate for irregular input or display timing.
Similarly, do not compare one candidate while the mouse is wireless at low battery and another while wired. Keep the transport and receiver placement fixed. When the environment changes, repeat the baseline drill before blaming the sensitivity.
Make the setup portable
Store the primary DPI in onboard memory if supported, and export the game configuration through an official feature when available. Keep a human-readable note outside both systems. On another computer, restore hardware DPI and game settings, then measure cm/360.
Do not tune around a different monitor by multiplying sensitivity by resolution. Relative camera input is not an absolute desktop cursor. Restore field of view and aspect ratio, verify the physical turn, and then allow time for the new screen size or viewing distance to feel familiar.
Use a short pre-session check: confirm the profile indicator, make one measured 180-degree turn, and verify the scope multiplier. If all three match the record, begin practice without further slider changes. This ritual catches real resets while preventing ordinary warm-up variation from becoming another sensitivity experiment.
Sources
- MDN, Pointer Lock API — relative movement, screen-edge independence, and unadjusted input concepts.
- NIST, SI Units—Length — exact inch-to-millimeter conversion used for physical turn distance.